by gefexplorebeauty | Dec 10, 2018 | SkinCare/Cosmetics
Gratitude Post
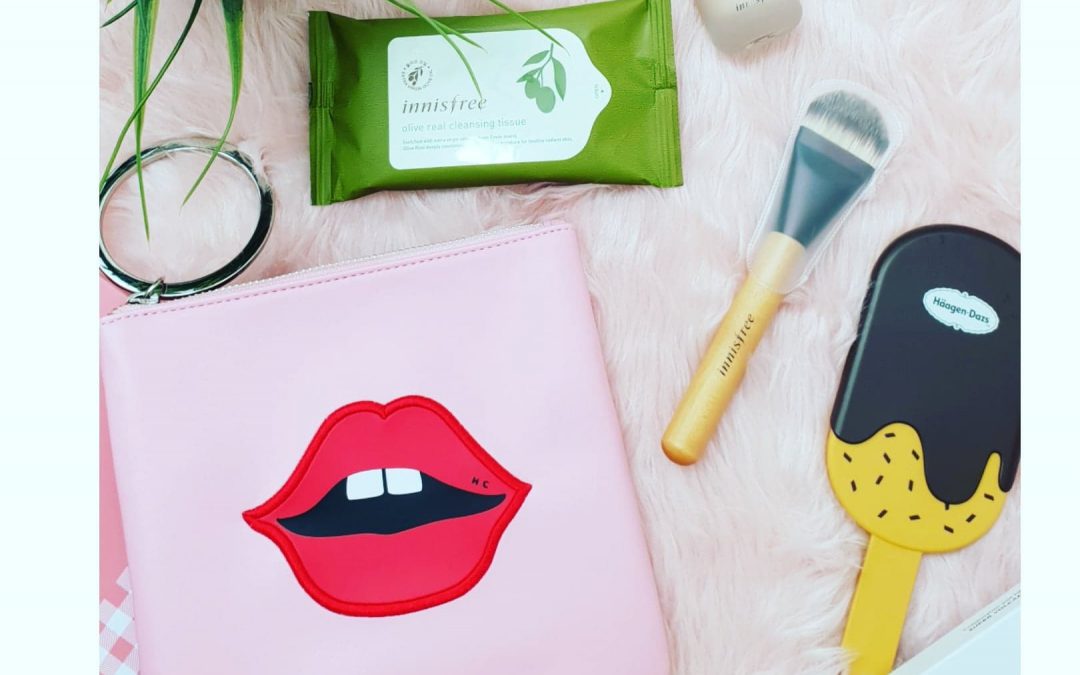
Recently I’m one of the 5 lucky winners who won the halloween makeup contest of @innisfreeworld. Chosen winners will get prize pack which includes:
 My foundation- Instructed to pick our own personaI shade. I picked 2.5 N21. I come up with this shade by following their unique steps of choosing your shade (Moisture-Coverage-Shade)
1.Moisture(level 1-3) I picked the middle(2),I don’t want to be dewy nor matte just in between.
2.Coverage(1-5)I chose 5, best coverage to hide my blemishes and to be able to withstand the tropical weather and humidity here in my country.
3.Shade(N21)I have warm skin tone thats why I selected on the natural side.
 My foundation brush-This will be a great addition to my makeup brushes. A round flat brush with compressed fine hair that feels so soft will do a easy blending on my foundation.
 Olive real cleansing tissue- Perfect because olive oil is one of the oils I’m using for removing my makeup. So portable for me, A cleansing tissue incoporated with oil of organic golden olives.
 High cheeks pouch- A lovely pouch with a bangle handle.Very convenient to use it fits your daily essentials(lipstick,phone,purse). Best bet for women on the go.
 Haagen dazs hand mirror- A super sweet popsicle looking mirror. Looks like a real ice cream to me.yum!
I’m extra happy with this prize pack. This is my first, to win an online makeup contest and it became more special because I have so much love for the brand. A good start for this IG Beauty feed Thank you @innisfreeworld.
by gefexplorebeauty | Dec 6, 2018 | Events
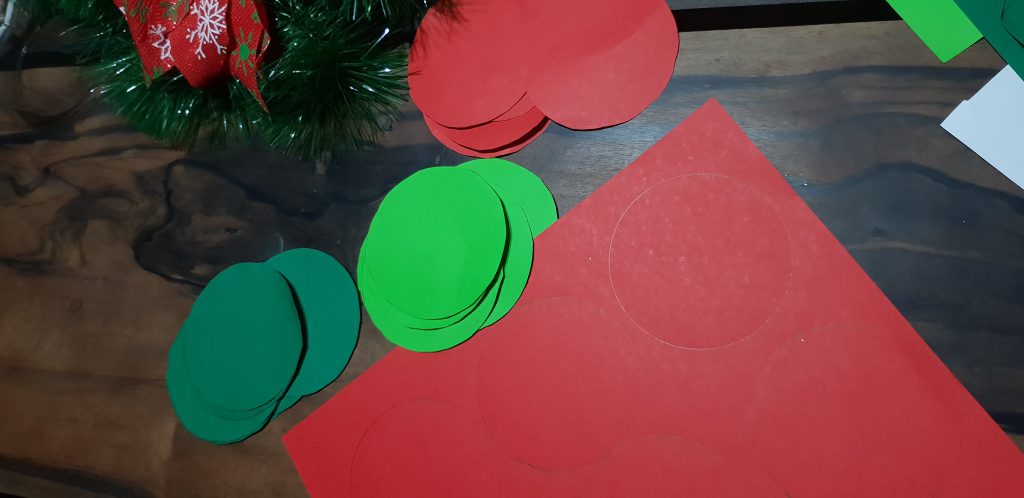
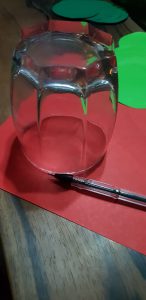
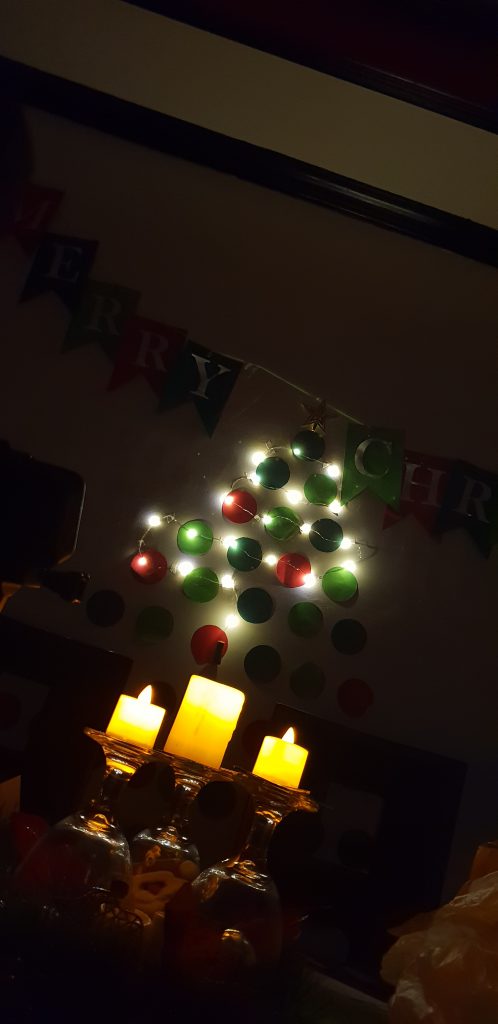
We’re not putting up Christmas tree anymore unlike from what I experienced growing up as a kid. So I decided to install A DIY Christmas Decor to somewhat feel the spirit of Yuletide Season in our home particulary in the dining area. So I made a wall mounted Christmas Tree made of cut pieces of 3 different colors of Construction paper. I choose Red, Light Green & Dark Green, color of Christmas. First, I draw a circle shape by using a glass and after that I cut out the figure one by one.
Next is I created a Merry Christmas Garland on top of the wall mounted Christmas Tree and the picture below shows what I did.
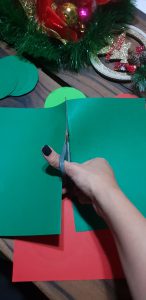
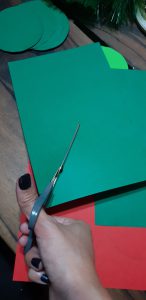
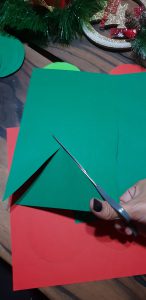
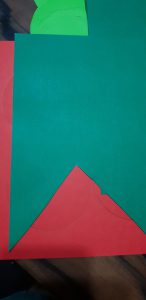
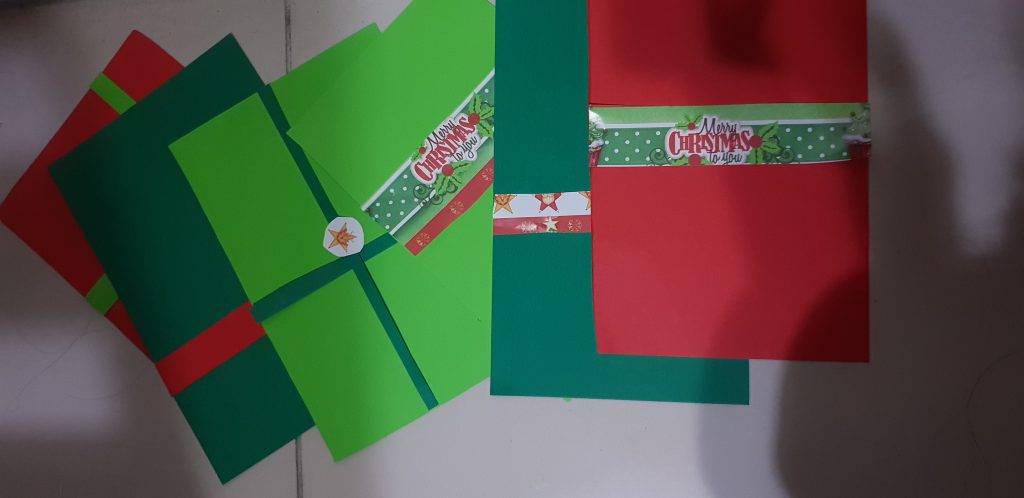
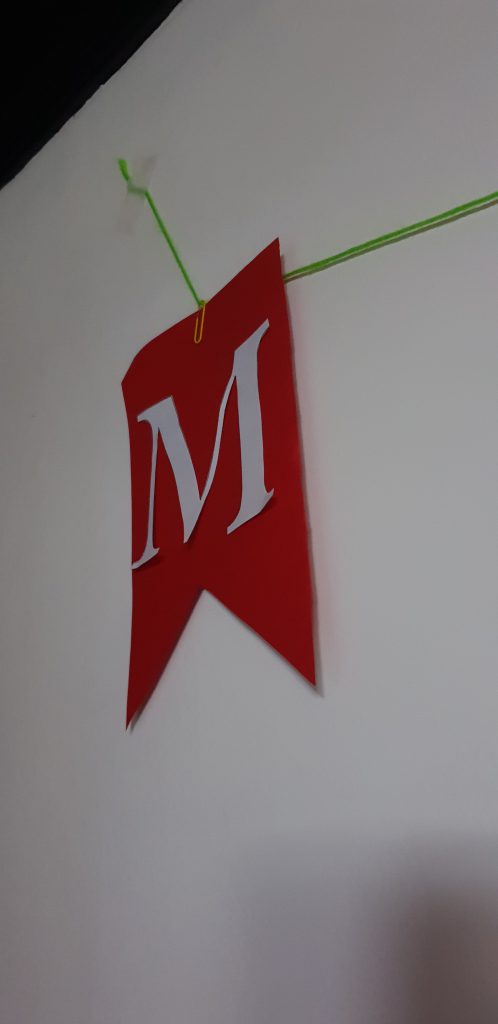
I cut the whole colored paper into half and cut a triangular shape after at the bottom.
I
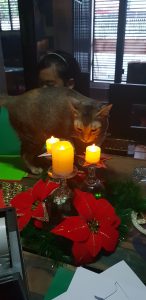
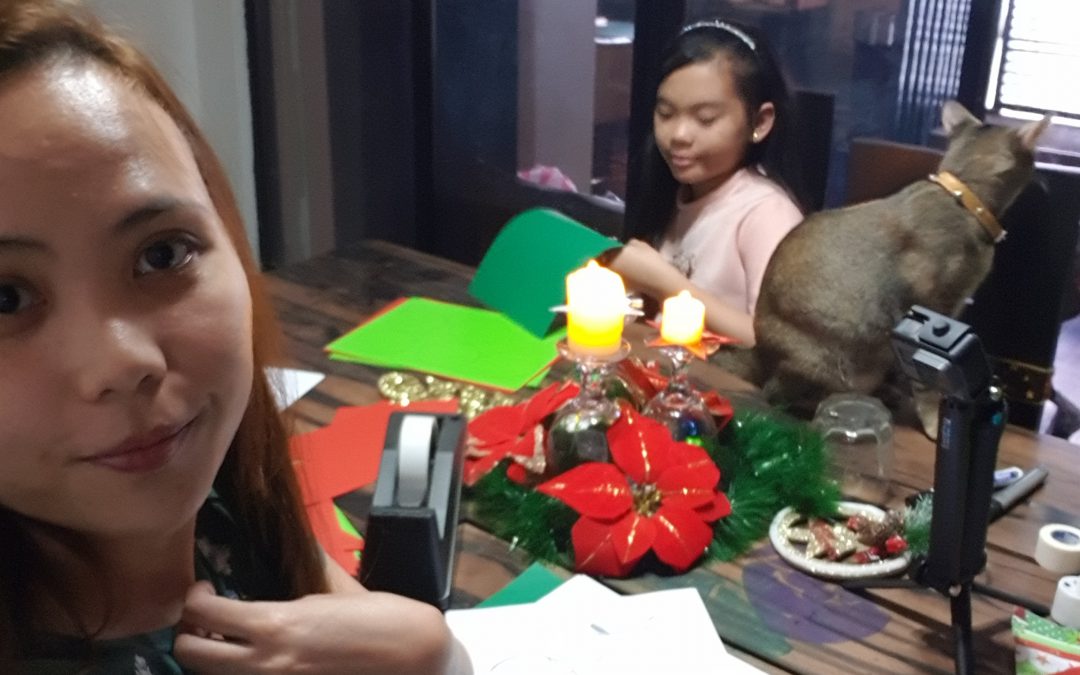
I love how my niece and our furbaby involved also in what I am doing. Perfect bonding!
Moving on, I also have a printed out of Merry Christmas Lettering, I carve it also and bind it with the colored paper which I cut on earlier.

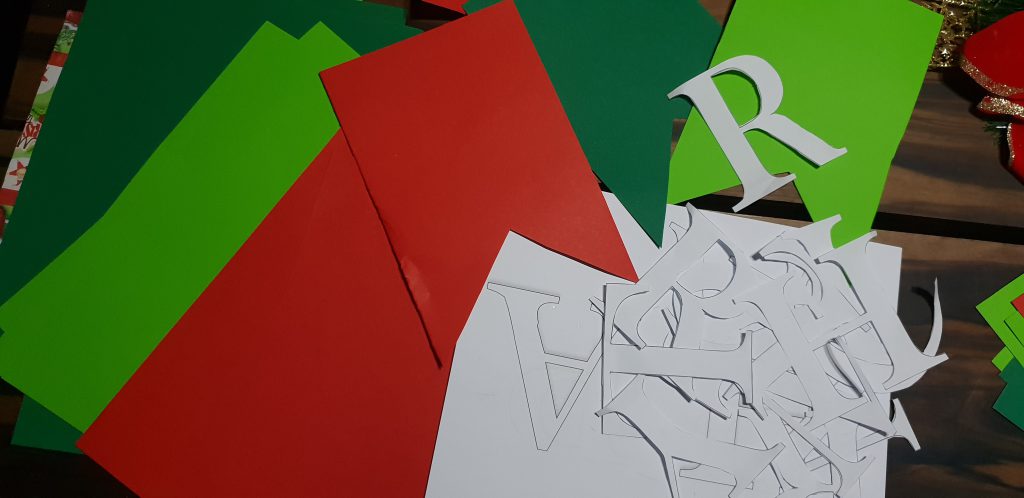

It’s now ready to connect and hang it. These would be a fantastic color combination.
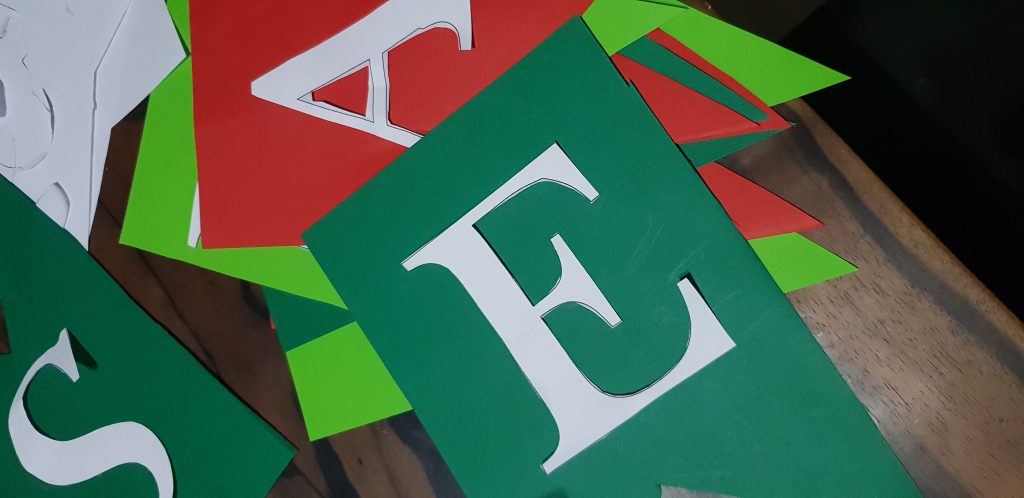
I also made a sample gift box out of the materials so that I can placed that at the bottom of the Christmas Tree. This getting serious hahaha!
Darrrraaaaannnnnn…….
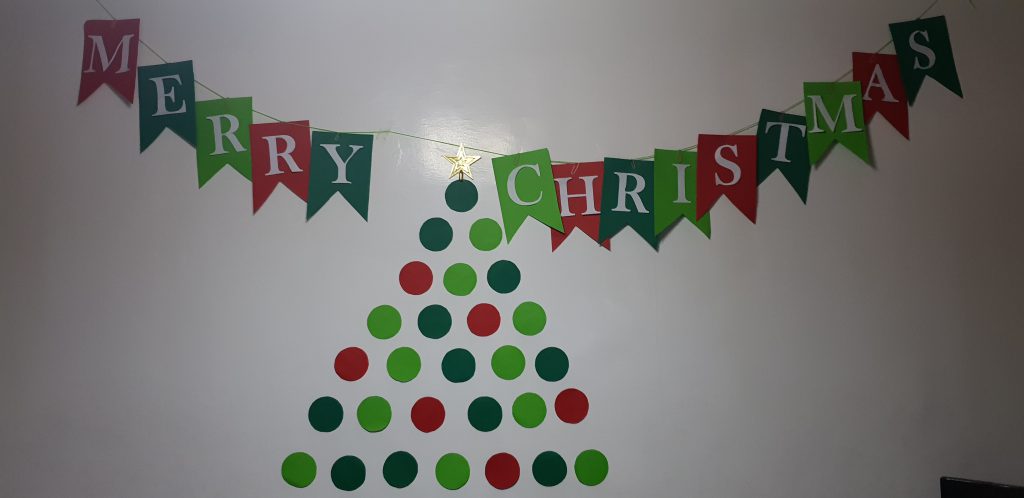
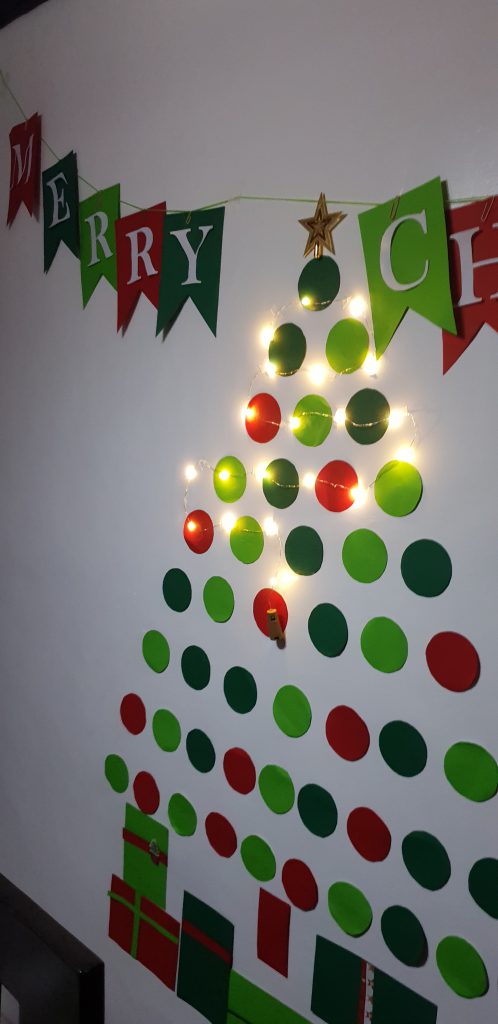
I attached also fairy lights so it looks good during the night.
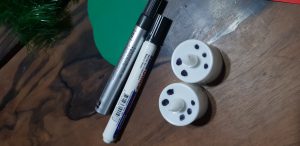
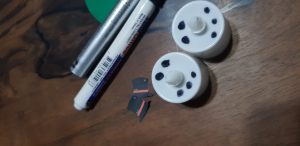
Well, with this material I created a snowman, using electric candle. I draw eyes and mouth using a marker and attach a snowman hat at the top of its head.
I also adorn our dining seats with red ribbon lace so it matched with the Christmas theme.
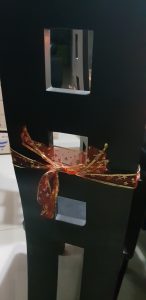
and Lastly my favorite of all the dining table centerpiece. Here’s the materials:
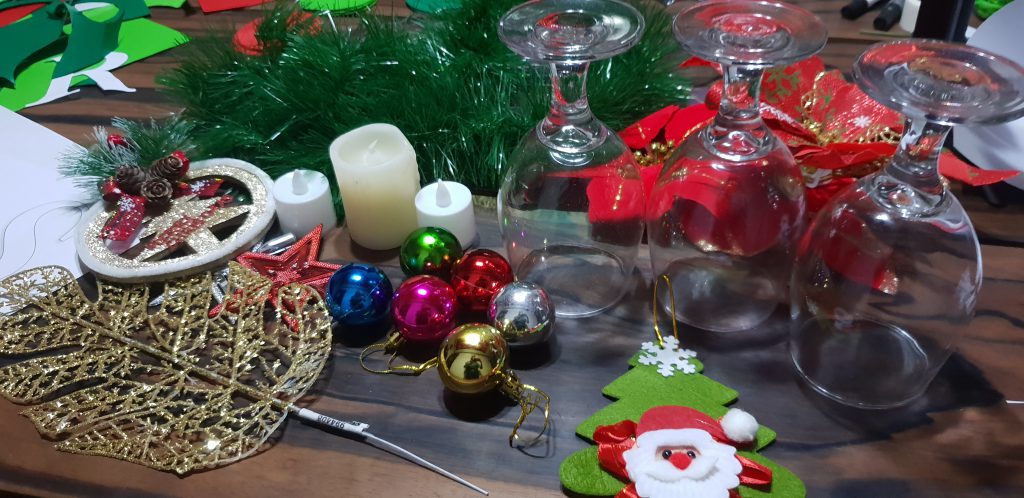
…..and just figure out how I did it seeing this finished setup picture below—-
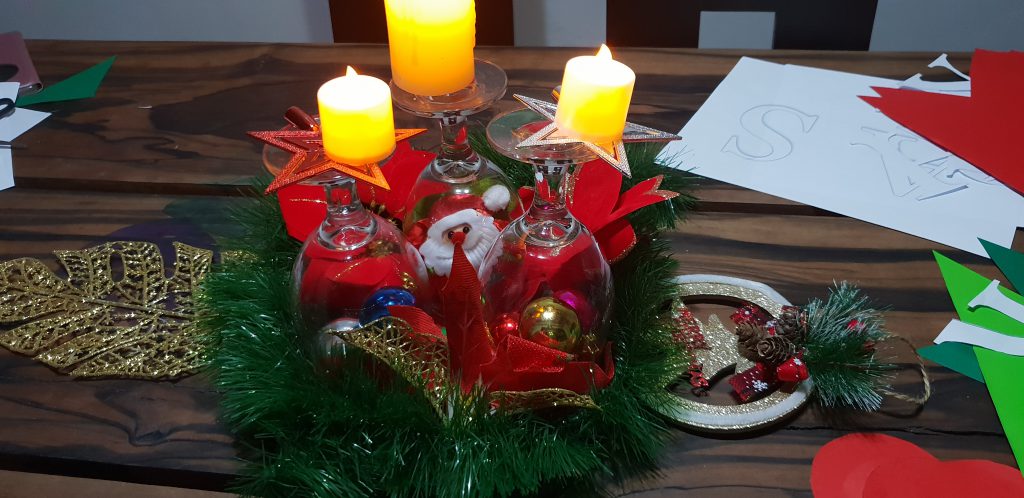
That’s it. I’m happy and I really enjoyed doing this project. BTW, This is inspired by the Christmas decors i saw on Pinterest, picked which i can do easily that will be look good in our place. Hope I inspired you doing a DIY decor for this Holidays. It shouldn’t be that expensive to create a brilliant design this yuletide season. Have a very MERRY CHRISTMAS to ALL! XOXO..Chow!


 My foundation- Instructed to pick our own personaI shade. I picked 2.5 N21. I come up with this shade by following their unique steps of choosing your shade (Moisture-Coverage-Shade)
 My foundation brush-This will be a great addition to my makeup brushes. A round flat brush with compressed fine hair that feels so soft will do a easy blending on my foundation.
 Olive real cleansing tissue- Perfect because olive oil is one of the oils I’m using for removing my makeup. So portable for me, A cleansing tissue incoporated with oil of organic golden olives.
 High cheeks pouch- A lovely pouch with a bangle handle.Very convenient to use it fits your daily essentials(lipstick,phone,purse). Best bet for women on the go.
 Haagen dazs hand mirror- A super sweet popsicle looking mirror. Looks like a real ice cream to me.yum!
 Thank you @innisfreeworld.


